Setup Environment
Pick the path that matches your machine — both get you a local Qubic environment you can develop smart contracts against.
- AIO Qubic Dev Kit — Linux, Docker-based, one repo, everything included. This is the recommended path.
- Visual Studio — Windows / IDE workflow. Kept for teams already on this path.
AIO Qubic Dev Kit (Linux — recommended)
Clone one repo. Run it. You get a full local Qubic environment:
- Core — local Qubic node
- Faucet — funds test identities on demand
- Wallet — user-side interactions with your contract
- RPC — the same API surface your contract will hit in production
Repo: github.com/qubic/aio-qubic-dev-kit
Requirements
This is a real dev environment, not a laptop toy:
- Linux x86-64 with AVX2 — Ubuntu 24.04 recommended
- ≥24 GB RAM — ≥32 GB for the full stack with the explorer
- 8+ CPU cores for the full stack
- ~25–50 GB/day disk writes at the default 1 s tick rate — provision generous disk headroom
- Tools:
docker.io,docker-compose-v2,git,python3,make,g++,unzip
Not on Linux? Spin up a dev VPS (e.g. Hetzner, Contabo, Vultr) that meets the specs above. macOS and Windows are not supported for the AIO path — see the Visual Studio path below.
1. Install prerequisites
On a fresh Ubuntu 24.04 host:
sudo apt update
sudo apt install -y docker.io docker-compose-v2 git python3 make g++ unzip
Add your user to the docker group so you don't need sudo for every command:
sudo usermod -aG docker $USER
newgrp docker
2. Clone the repo
git clone https://github.com/qubic/aio-qubic-dev-kit
cd aio-qubic-dev-kit
3. Run
Follow the repo README for the current start command and configuration knobs — it's the source of truth and moves faster than these docs.
Once up, you have Core + Faucet + Wallet + RPC all running on localhost. Point your smart-contract test transactions at the local RPC and iterate freely.
4. Verify it's working
Check that the four services are reachable on the ports the README documents. If any fail to come up:
docker compose logs -f
What's next
- Continue to Add Your Contract — add a
.hfile to the Qubic Core source tree and wire it up. - Then Test Your Contract — write a test program and validate your contract locally.
Visual Studio (Windows — alternate)
Kept for teams already using the Visual Studio + Qubic Core workflow. Same end result — a local environment for smart-contract development — but Windows-native and IDE-driven.
You'll need two things: Visual Studio and the Qubic Core repository.
For running a local testnet without a VM on Windows, use Qubic Core Lite instead of the official Qubic Core.
1. Install Visual Studio
Go to https://visualstudio.microsoft.com/ and click the Download Visual Studio button.
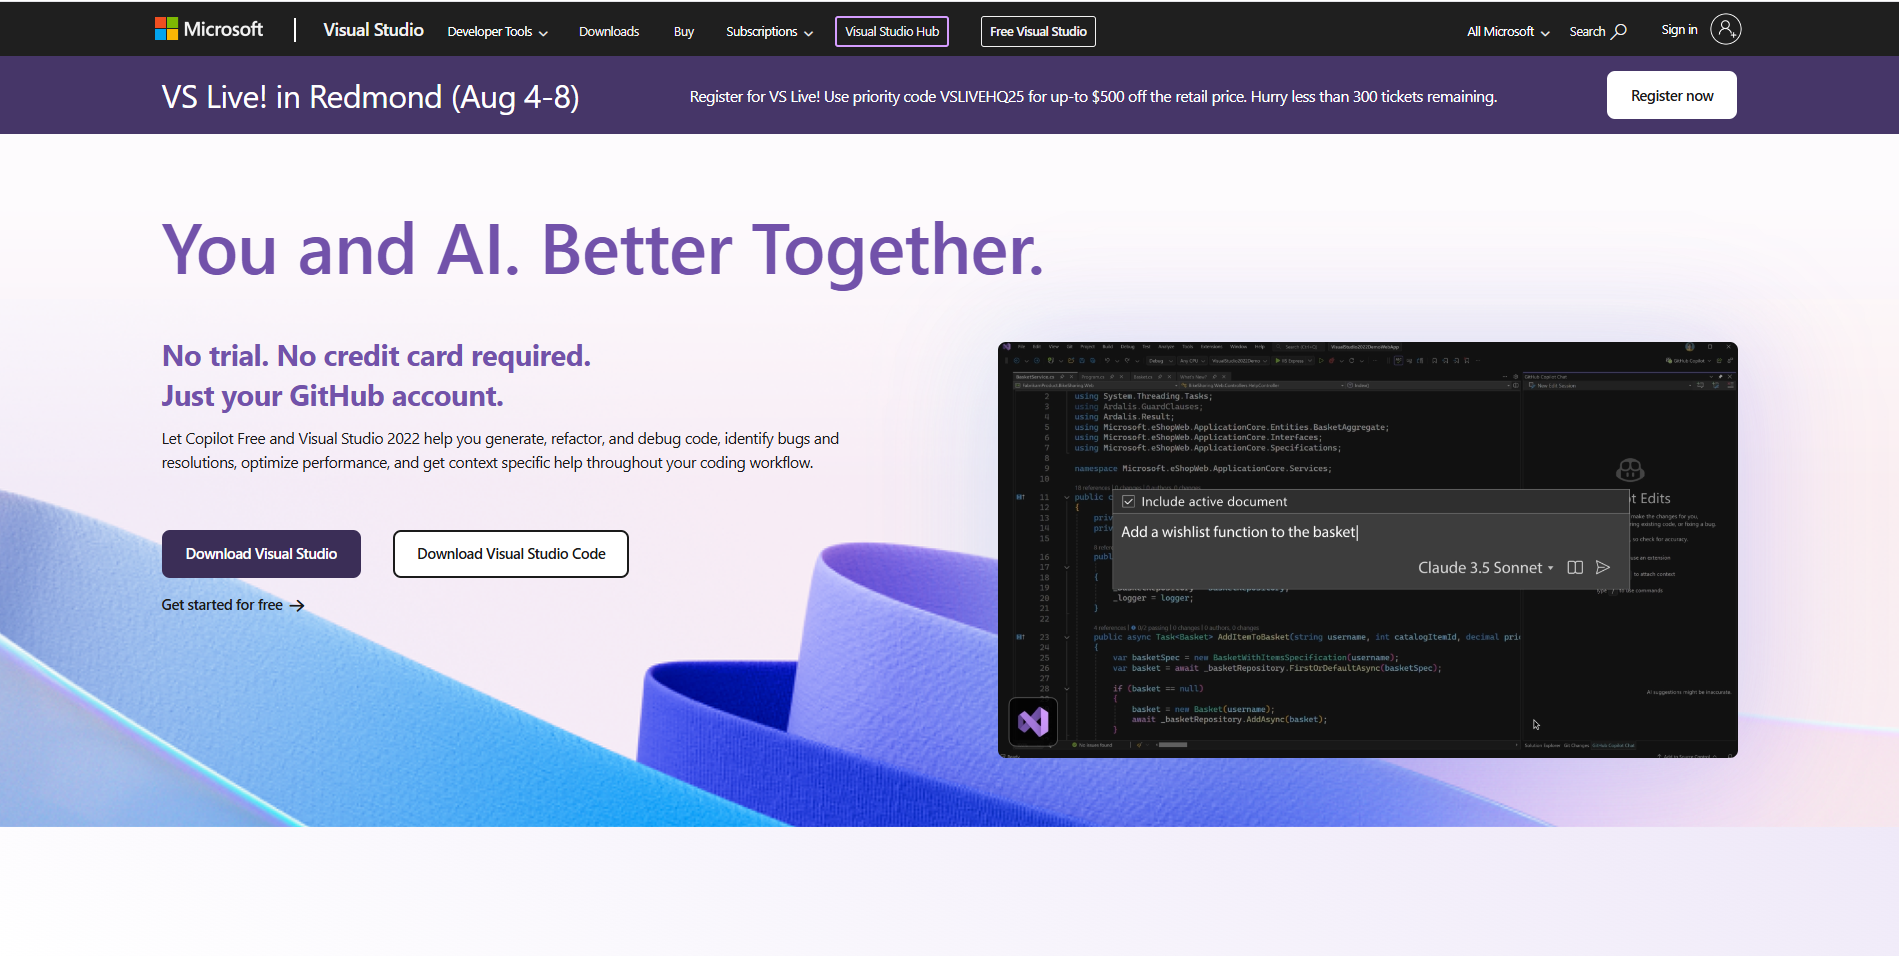
Once downloaded, open the Visual Studio Installer. Select the Desktop development with C++ workload.
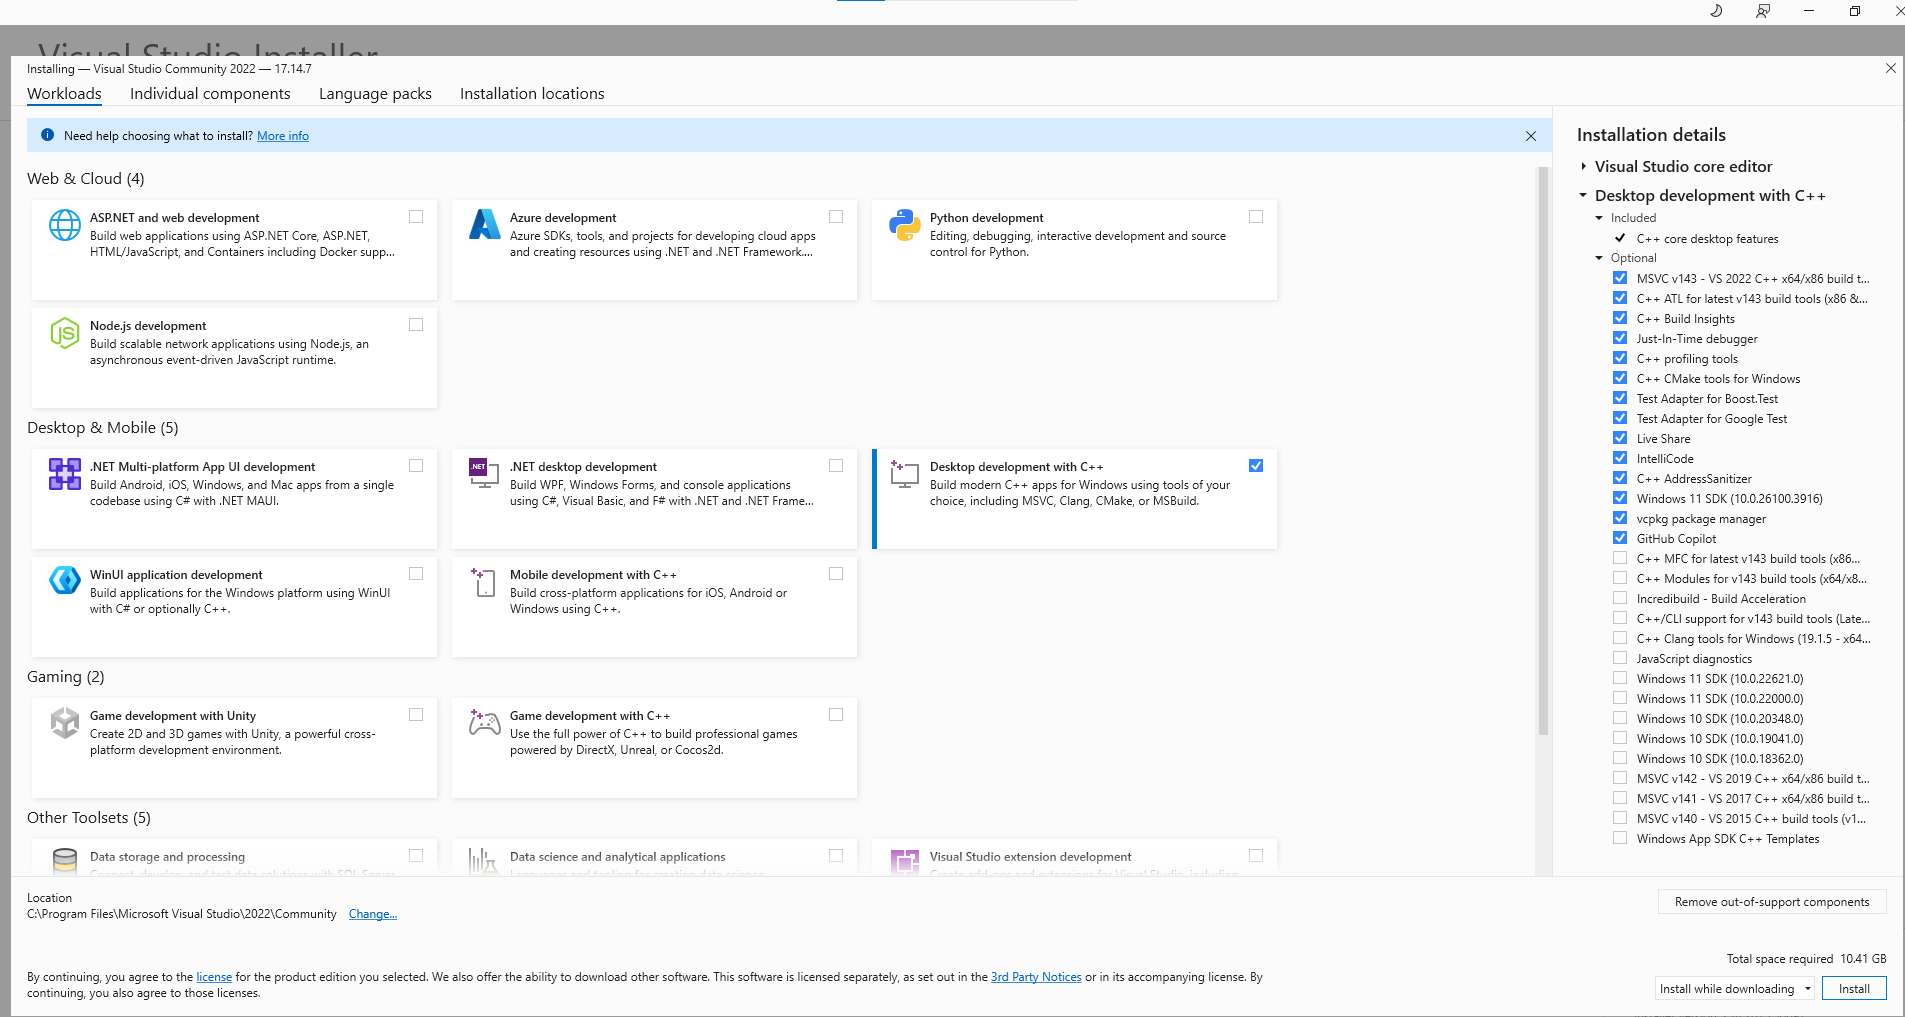
Click the Install button. You'll see a progress page — grab a coffee and wait for the installation to complete.
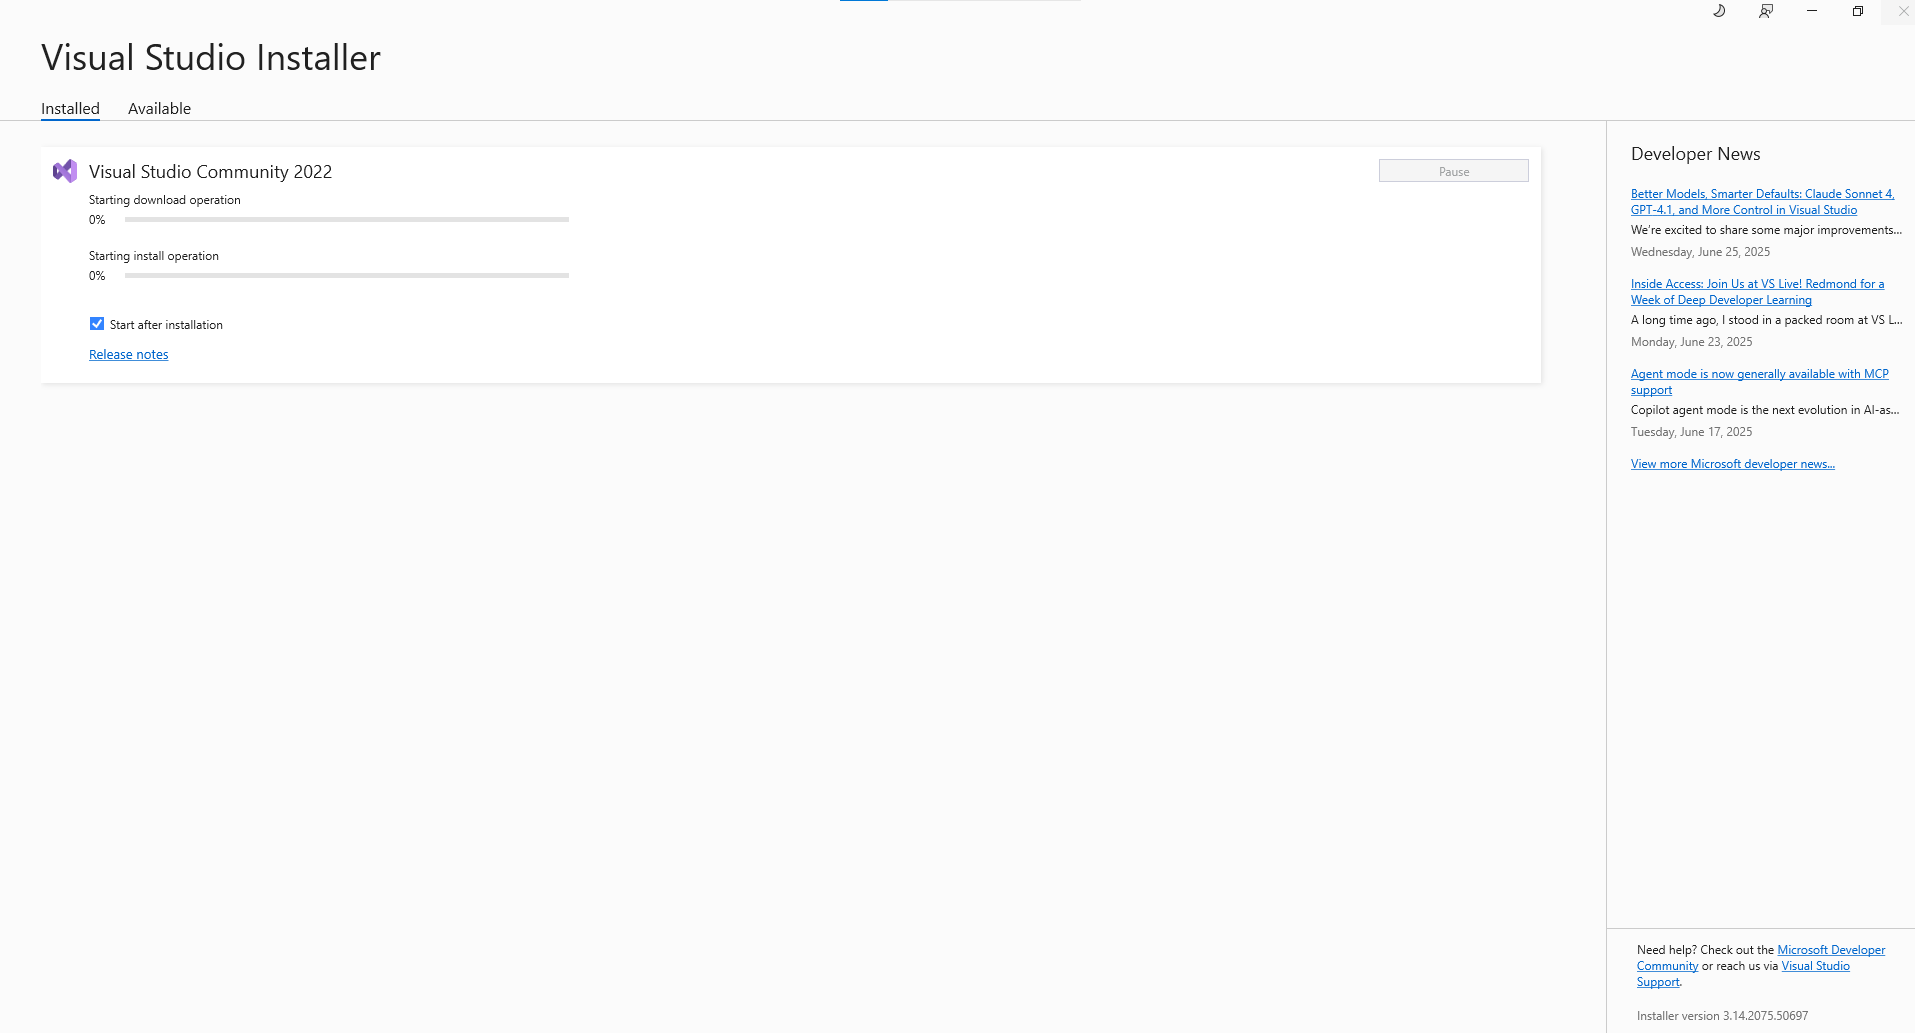
When the installation is complete, open Visual Studio.
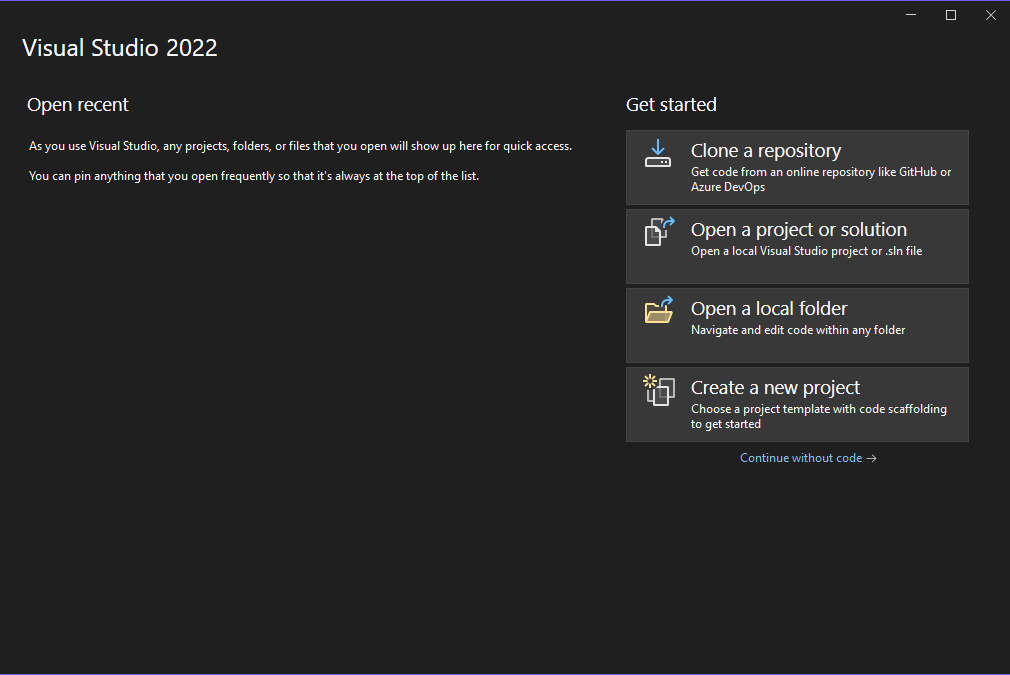
2. Clone the repo
Choose Clone a repository and paste the following URL: https://github.com/qubic/core.git
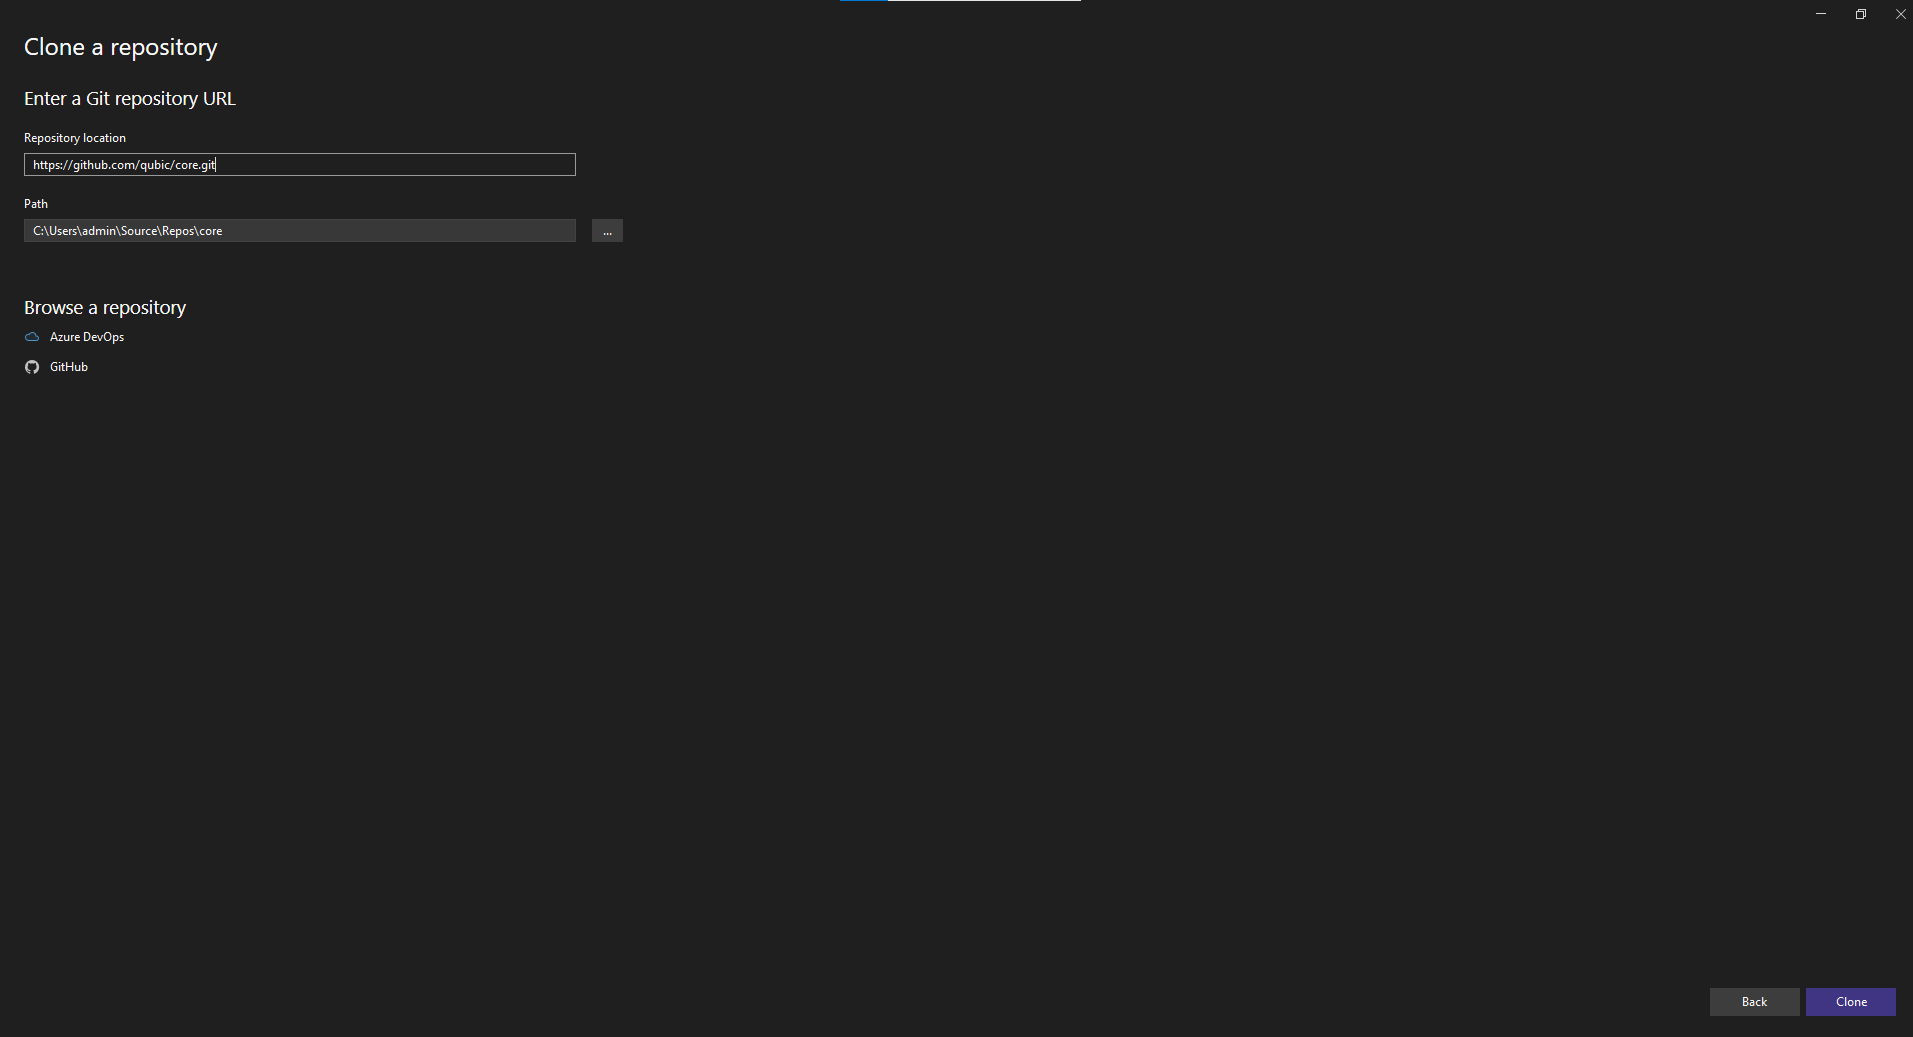
Click the Clone button.
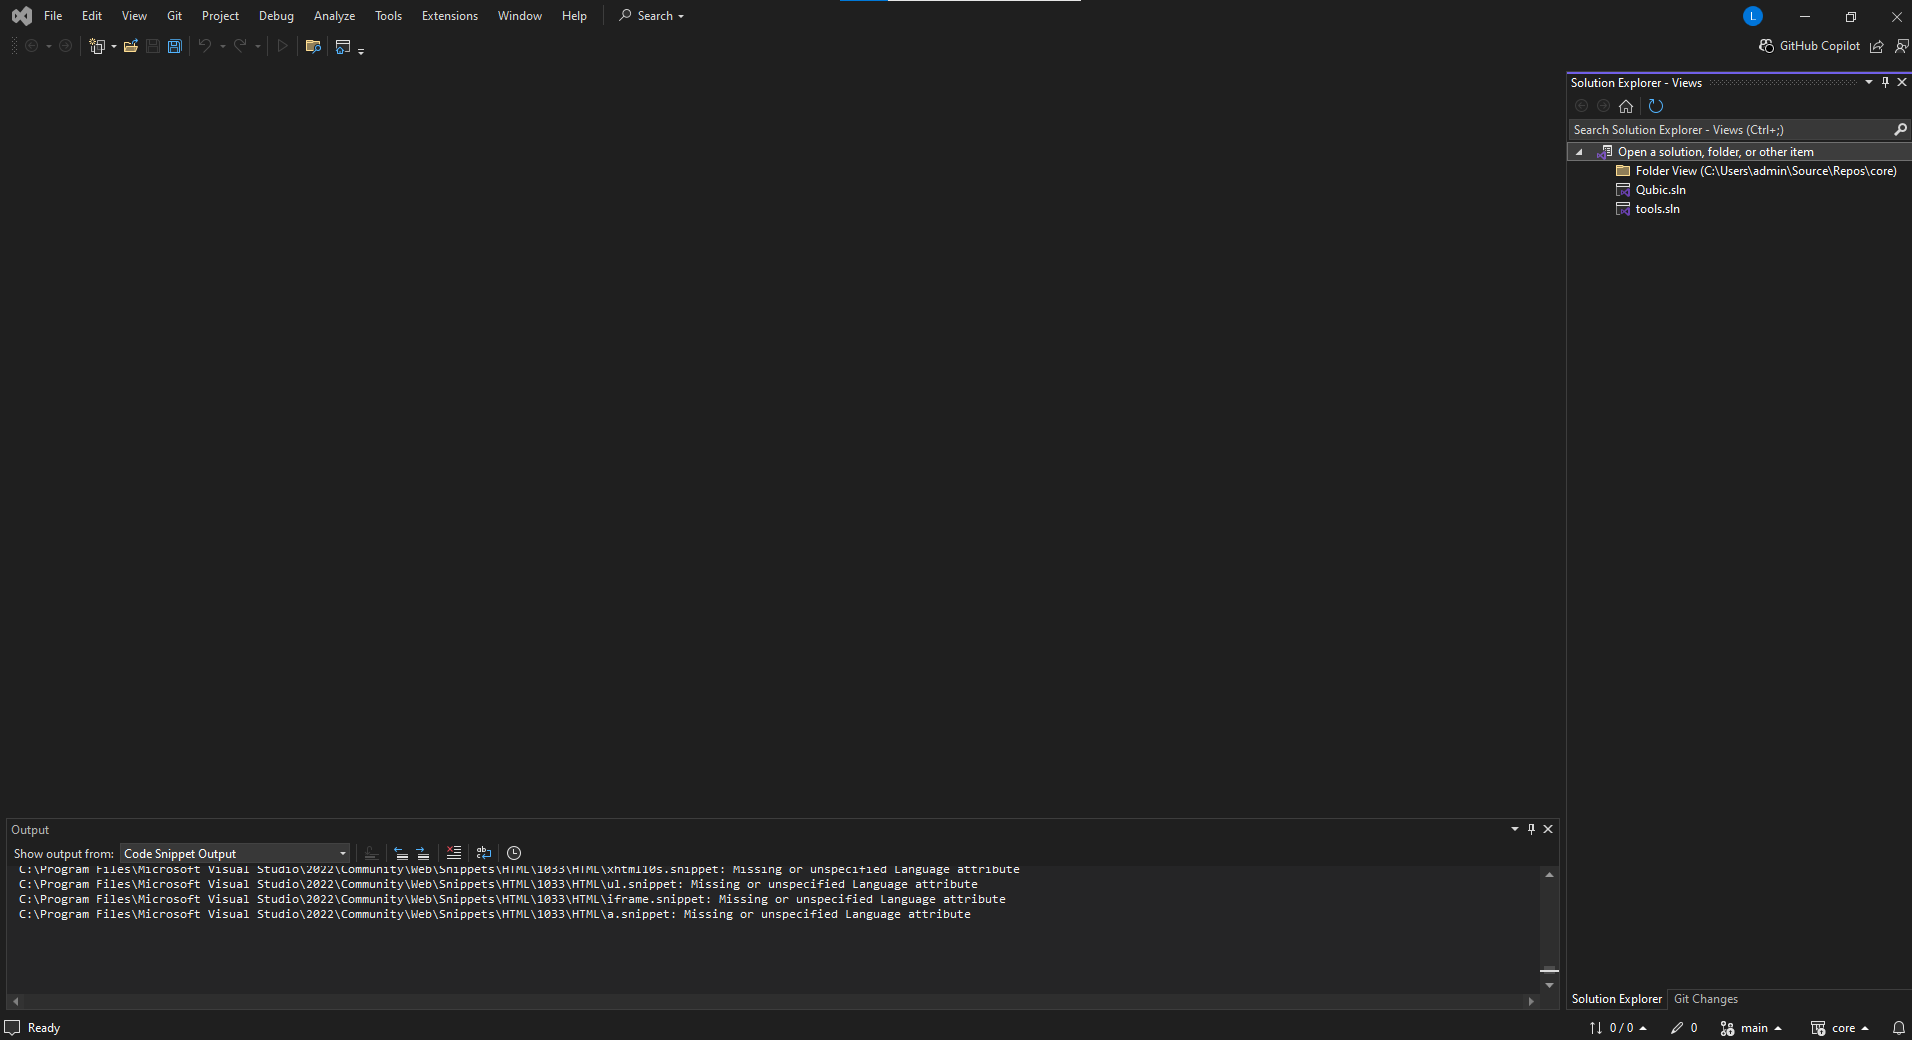
Once cloning is complete, double-click on Qubic.sln on the right-hand side to open the QUBIC solution.
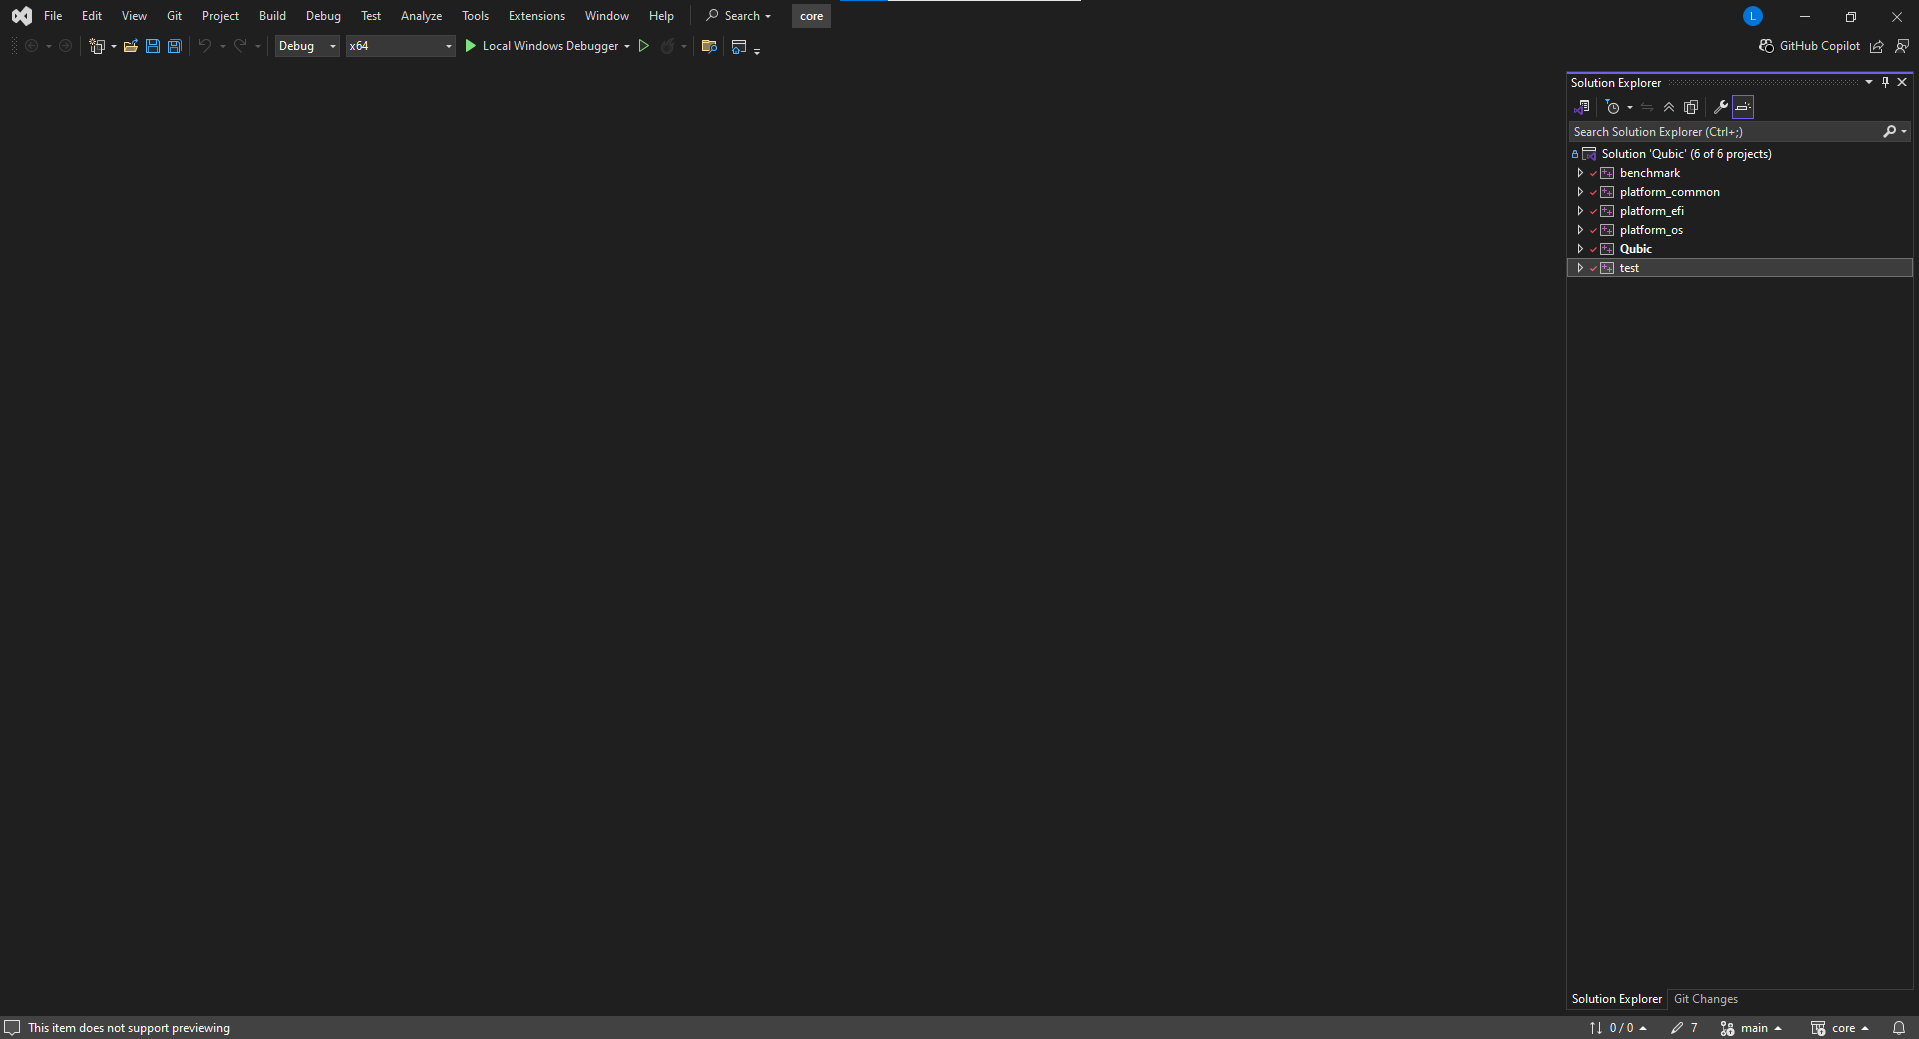
Now let's test if everything is set up correctly by building the test project.
Right-click on the test project and select Build.
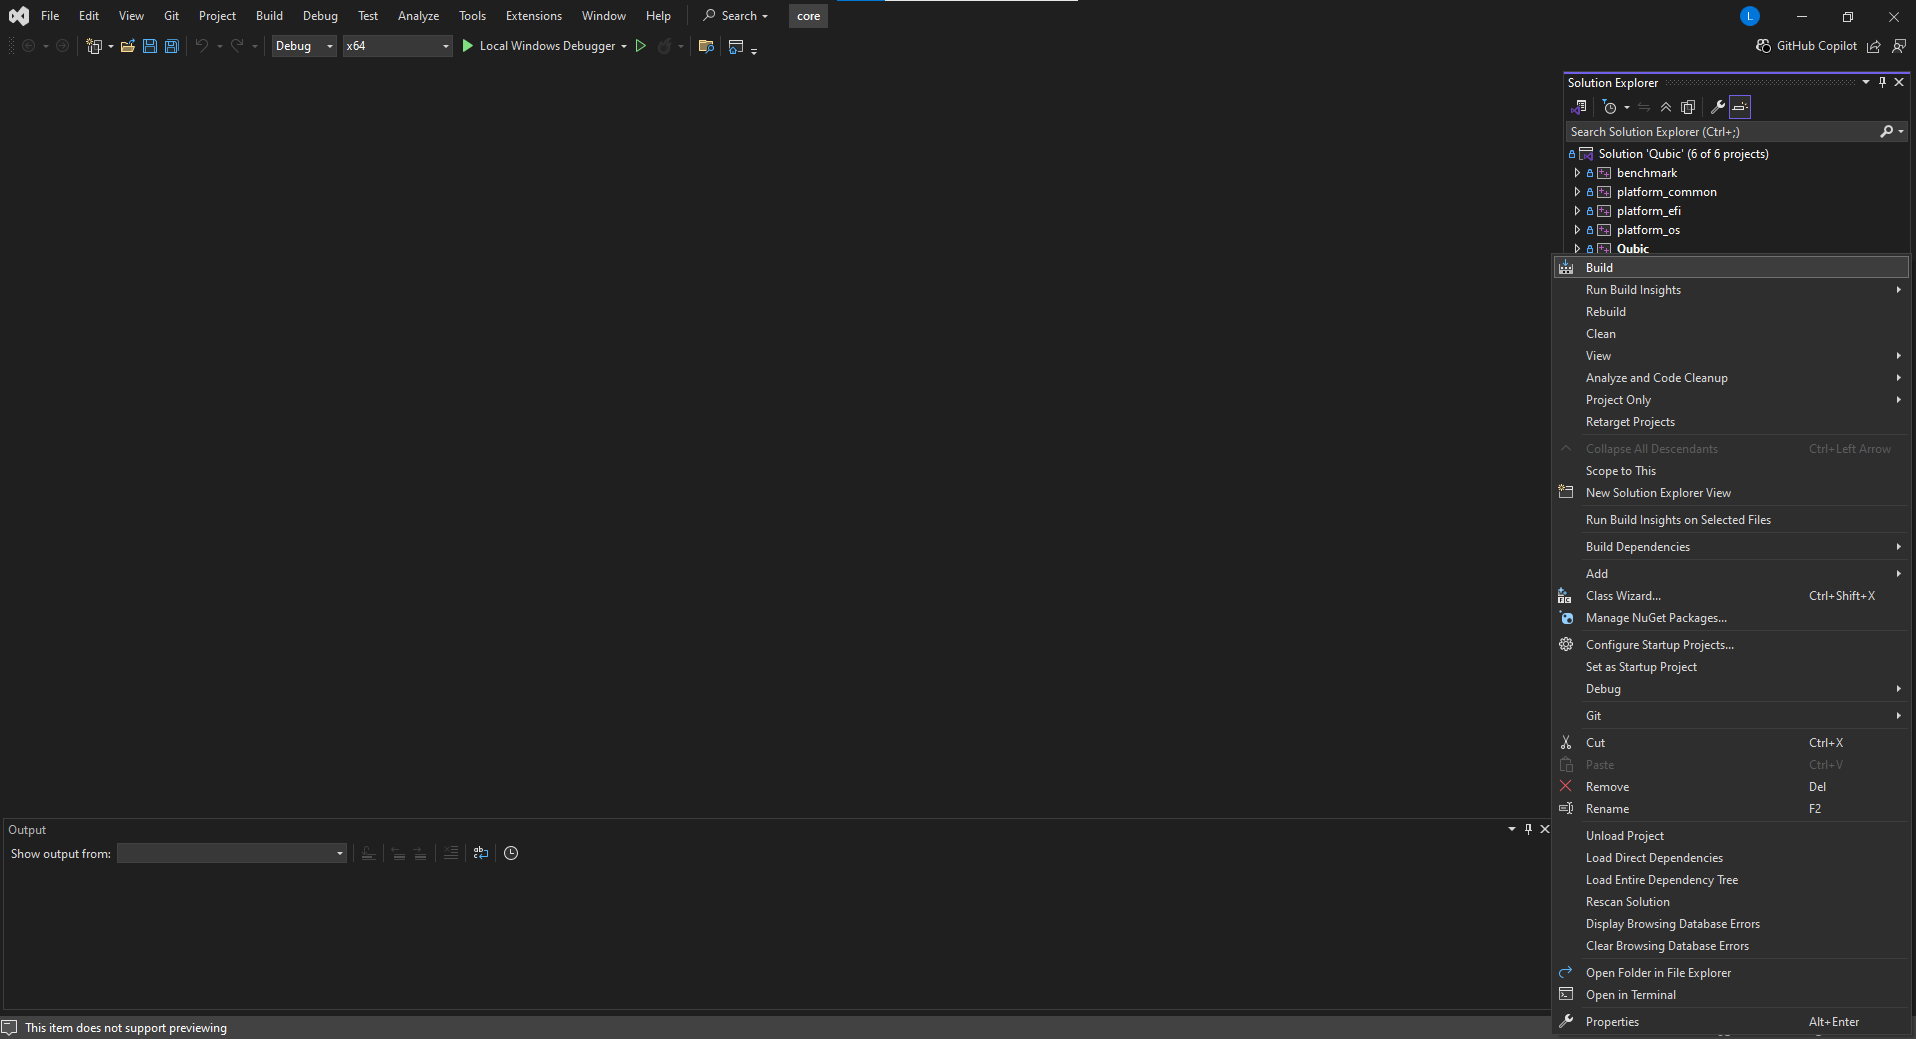
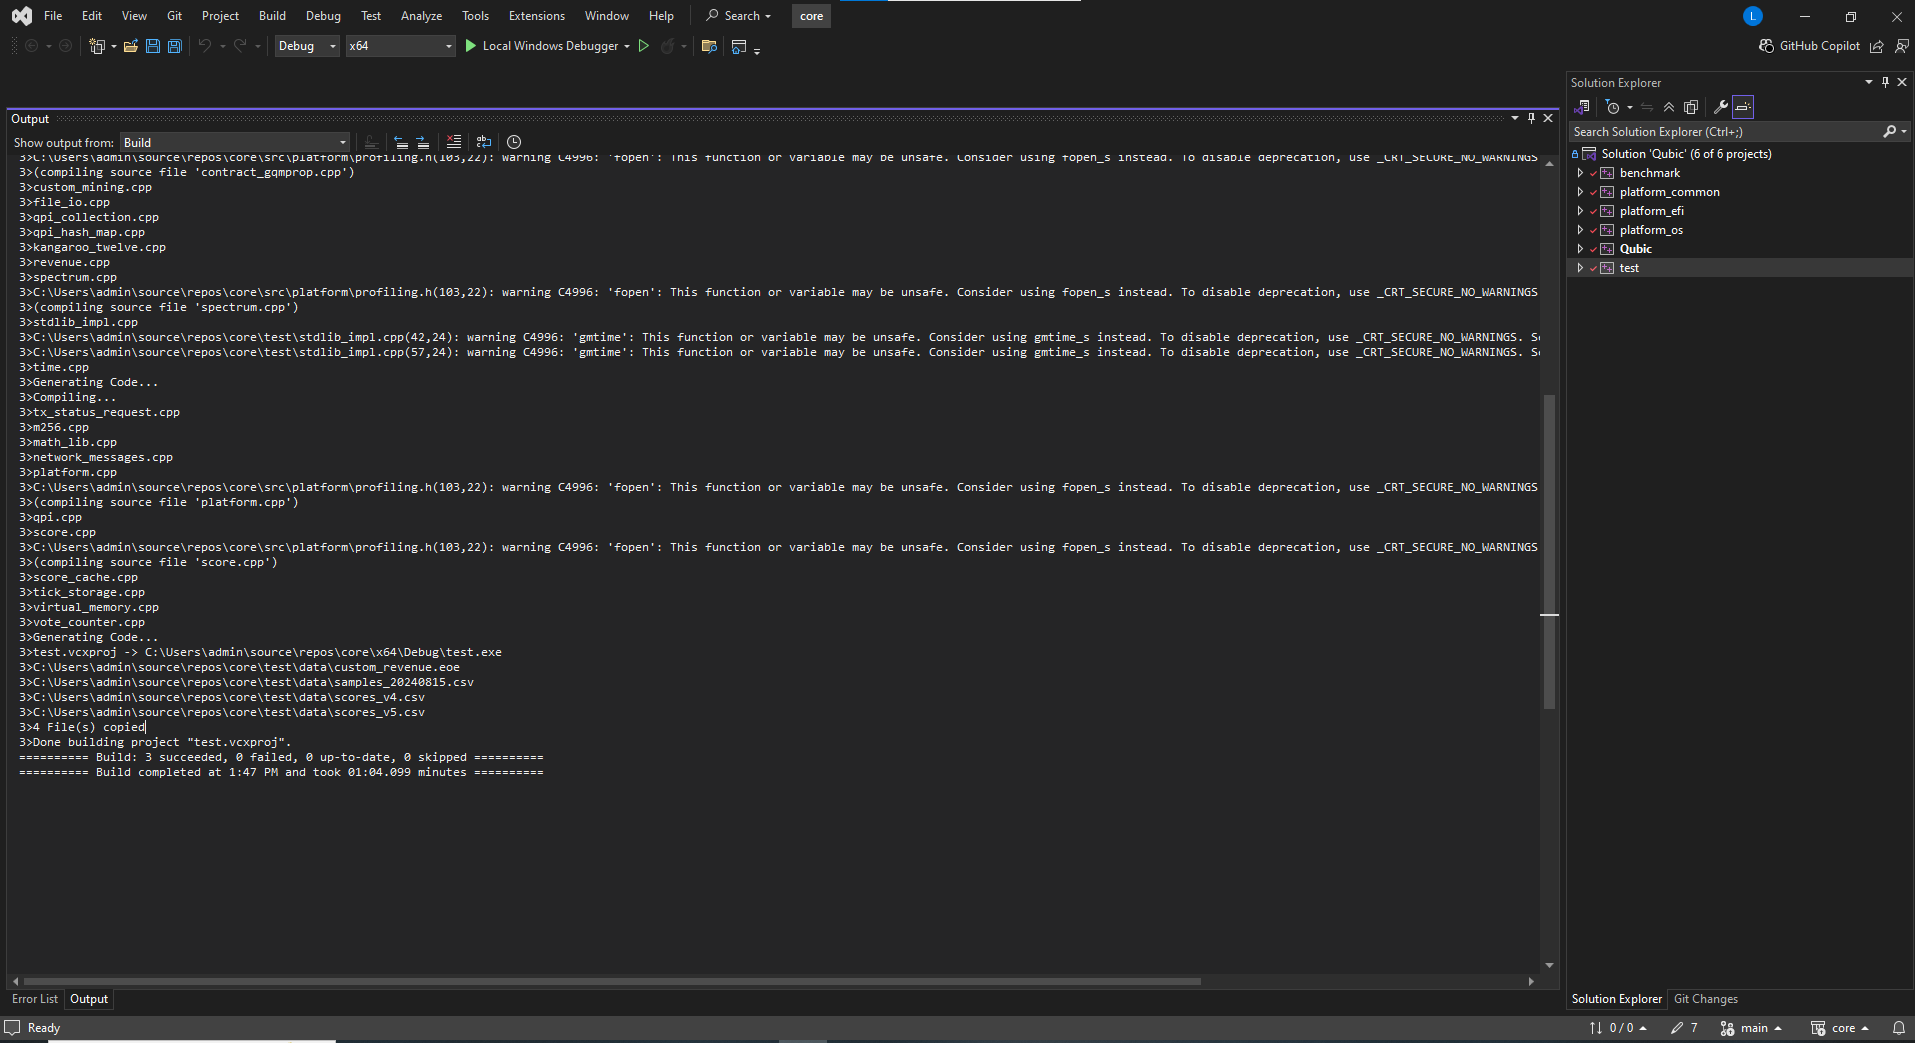
If you see logs like the one below — congrats! You've successfully set up your development environment!
3>test.vcxproj -> C:\Users\admin\source\repos\core\x64\Debug\test.exe
3>C:\Users\admin\source\repos\core\test\data\custom_revenue.eoe
3>C:\Users\admin\source\repos\core\test\data\samples_20240815.csv
3>C:\Users\admin\source\repos\core\test\data\scores_v4.csv
3>C:\Users\admin\source\repos\core\test\data\scores_v5.csv
3>4 File(s) copied
3>Done building project "test.vcxproj".
========== Rebuild All: 3 succeeded, 0 failed, 0 skipped ==========
========== Rebuild completed at 1:57 PM and took 01:04.789 minutes ==========
If the log says "The Windows SDK version xx.xx.xxxx.x was not found," install the required Windows SDK version or change the SDK version via the project property pages, or by right-clicking the solution and selecting "Retarget solution."